⚙️💻 Building a Local Development, Testing & Deployment Environment
A well-structured local development environment is essential for improving code quality, automating testing, and streamlining deployments.
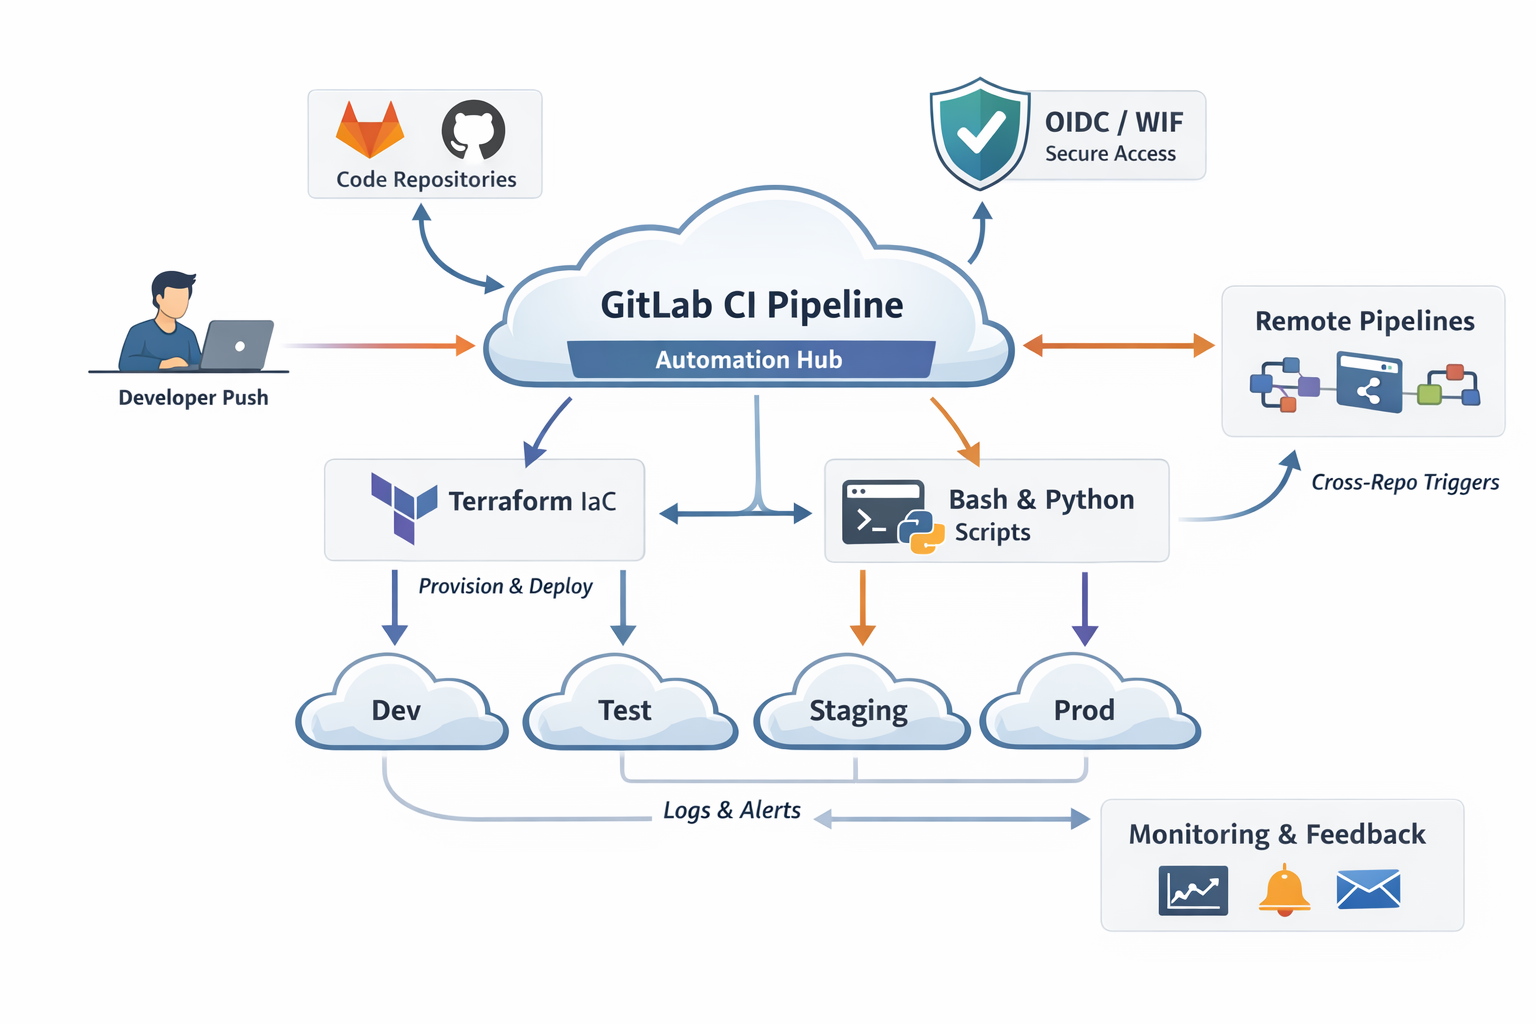
In this guide, we will progressively build a local ecosystem for developers, adding essential tools step by step. The final goal is to create an environment that allows you to write, analyze, test, and deploy code efficiently.

This article serves as the central hub of the series — each tool (e.g., SonarQube, ArgoCD, Monitoring) will have its own dedicated post with installation details, while here we’ll explain how everything integrates together.
🗂 Planned Components
- 🔍 Code Analysis (SonarQube) – Static code analysis for code quality.
- 📝 Linting (SonarLint for IDEs) – Consistent coding standards in real-time.
- 🔄 Version Control (GitHub) – Branches, PRs, tags, semantic versioning (we’ll link a dedicated article).
- ⚡ CI/CD Pipelines (GitHub Actions) – Automated build & test pipelines.
- 🚀 Deployment (ArgoCD) – GitOps-based application delivery.
- 📊 Monitoring (Prometheus, Grafana) – Observability for apps.
📂 Project Structure
Here’s the proposed folder layout for our environment:
local-dev-environment/
│
├── sonarqube/                  # SonarQube setup and configuration
│   ├── conf/                   # SonarQube config (sonar.properties, etc.)
│   ├── data/                   # Persistent data storage
│   ├── logs/                   # Log files
│   └── extensions/             # Plugins & extensions
│
├── code-examples/              # Sample code for analysis & testing
│   └── python/
│       └── api-requests.py
│
├── tests/                      # Example unit tests
│   └── test_example.py
│
├── .github/
│   ├── workflows/
│   │   └── sonarqube-analysis.yml  # Pipeline
│   └── actions-runner/             # Self-hosted GitHub Actions Runner
│       └── run.sh                  # Script to start the runner
│
├── docker-compose.yaml         # Compose file for multiple services
├── README.md                   # Project documentation
└── requirements.txt            # Dependencies
...
... (in development)
Steps
- Create the folders and initialize the repository
- You can initialize the repository by running git init in the root folder of local-dev-environment.
- Push the code to your GitHub repository and link it here: Project GitHub Repository
This guide will start with SonarQube, a powerful tool for static code analysis, and expand as we integrate more tools.
🔍 Static Code Analysis with SonarQube
We start our environment with SonarQube, a powerful static analysis tool that detects bugs, security vulnerabilities, and code smells.
Once SonarQube is running locally (via docker-compose), we can integrate it into our pipeline so that every push to the repository gets analyzed automatically.
- 👉 Detailed installation guide: SonarQube Setup Article
⚡ GitHub Actions – SonarQube Analysis Pipeline
As a first CI/CD integration, let’s configure a GitHub Actions workflow to run SonarQube scans on our code. This pipeline runs on the dev branch — a common branching strategy where:
- dev → integration branch for ongoing development
- main → stable production-ready branch
- feature/* → temporary branches for new features
We’ll create a separate article on branching models, semantic versioning, and release workflows (to keep this guide focused).
- 👉 Detailed installation guide: Branching & Semantic Versioning Article
🔧 Setting Up GitHub Actions
- Navigate to your repository on GitHub.
- Click on the Actions tab in the repository menu.
- If this is your first time, you’ll be prompted to configure a new workflow. Click “Set up this workflow yourself”.
- GitHub will open a YAML editor where you can define your first workflow.
-
Inside your repository, make sure you have the following directory structure:
.github/
  └── workflows/
      └── sonarqube-analysis.yml
This file will contain the pipeline configuration for SonarQube analysis.
🔑 Add SonarQube Token to GitHub Secrets
For the workflow to authenticate with SonarQube, you need a token:
- Generate a token in SonarQube:
- Go to My Account → Security → Generate Tokens.
- Copy the generated token (you will not be able to see it again).
- Add it to your GitHub repository secrets:
- Open your GitHub repository.
- Go to Settings → Secrets and variables → Actions.
- Click New repository secret.
- Name it SONAR_TOKEN and paste the value from SonarQube.
- Workflow File: .github/workflows/sonarqube-analysis.yml
name: SonarQube Analysis

on:
  push:
    branches:
      - dev
  # Uncomment below if you want to analyze PRs into main
  # pull_request:
  #   branches:
  #     - main

jobs:
  sonarQube:
    runs-on: self-hosted

    steps:
      - name: Checkout code
        uses: actions/checkout@v4

      - name: Run SonarScanner
        run: |
          sonar-scanner \
            -Dsonar.projectKey=chronos-desktop-app \
            -Dsonar.sources=. \
            -Dsonar.host.url=http://localhost:9001 \
            -Dsonar.login=$
🖥️ Setting Up the Actions Runner
Since we’re running SonarQube locally, the pipeline needs a self-hosted GitHub Actions runner.
Steps to Add Actions Runner
- Create the folder:
mkdir -p .github/actions-runner
- Inside, add the script run.sh:
#!/bin/bash
cd .github/actions-runner
./run.sh

# Make it executable:
chmod +x .github/actions-runner/run.sh

# Start the runner before pushing code:
./github/actions-runner/run.sh
⚠️ Important Notes
✅ SonarQube must be running → Since we deployed it via Docker Compose, containers will auto-restart after a reboot (unless stopped manually in Docker Desktop). You can always check in Docker Desktop or via docker ps.
✅ Start the runner before committing/pushing → If the runner isn’t running, GitHub won’t detect the workflow and the pipeline won’t execute.
✅ Branch strategy → For now, we trigger analysis only on dev. Later, we’ll extend this to main and release workflows.
🔑 Key Points
- runs-on: self-hosted → The job runs on a self-hosted runner (needed since we use local SonarQube).
- SONAR_TOKEN → Stored in GitHub Secrets, generated from SonarQube.
- Branching strategy → For now, we run scans on dev. Later, we may extend it to main or PRs.
This ensures every code change on dev is scanned, keeping quality checks aligned with our development workflow.
🚀 Next Steps
- Expand pipelines to include tests, builds, and deployments.
- Add ArgoCD to migrate and manage SonarQube in Kubernetes.
- Extend analysis pipelines for main branch with semantic versioning & release tags.
- Integrate monitoring to visualize the health of our apps.
This is just the first building block of our developer ecosystem. With each article, we’ll add another piece until the full puzzle comes together. 🧩